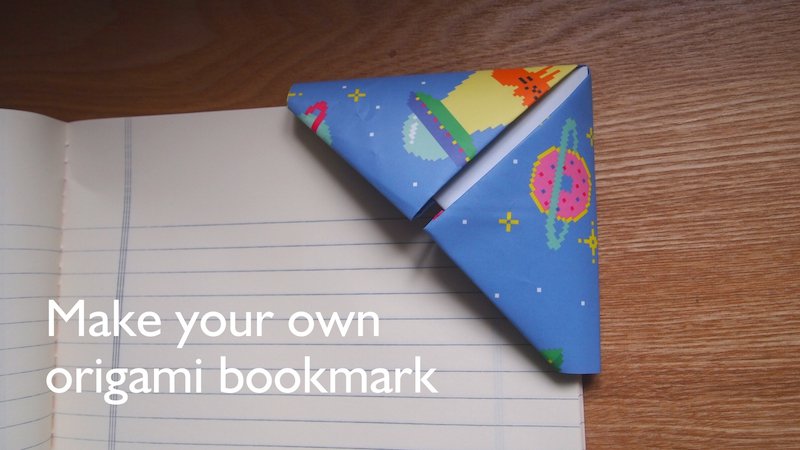
This activity shows kids how to make their own corner bookmark to keep their place in their favourite book or exercise book.
You will need:
- A square of paper. This could be wrapping paper, newspaper, coloured paper, or you can trim a sheet of A4 paper to make a square.
- Pens, stickers, or sequins to decorate the bookmark, or keep it simple if you don’t have these things to hand.
Ready to start? We’ll show you how it’s done.
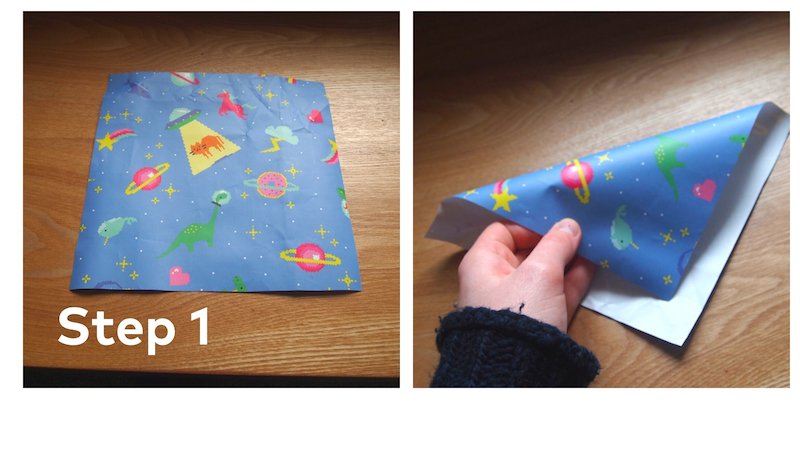
Step 1 – Fold your paper into a triangle. If there is a colour or pattern on your paper make sure this is facing up when your triangle is folded.
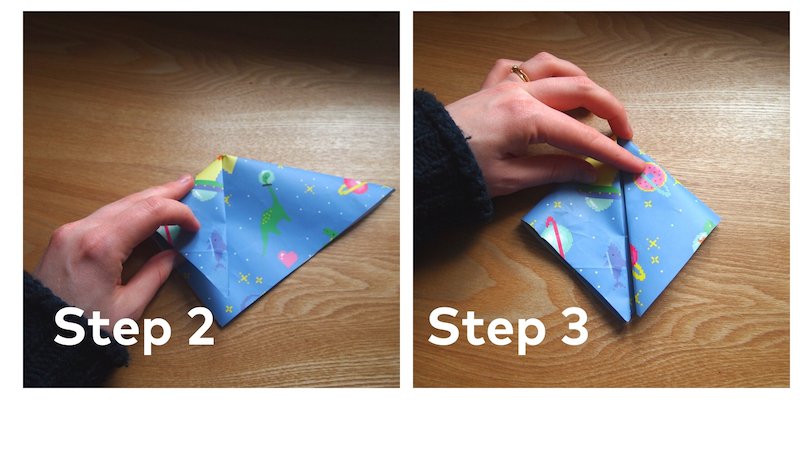
Step 2 – Make sure the long edge of the triangle is at the top, and the middle point is towards you. Take the left point of the triangle (A) and fold to meet the centre point (B).
Step 3 – Repeat with the right side (C), so you have a diamond shape, like in the picture.
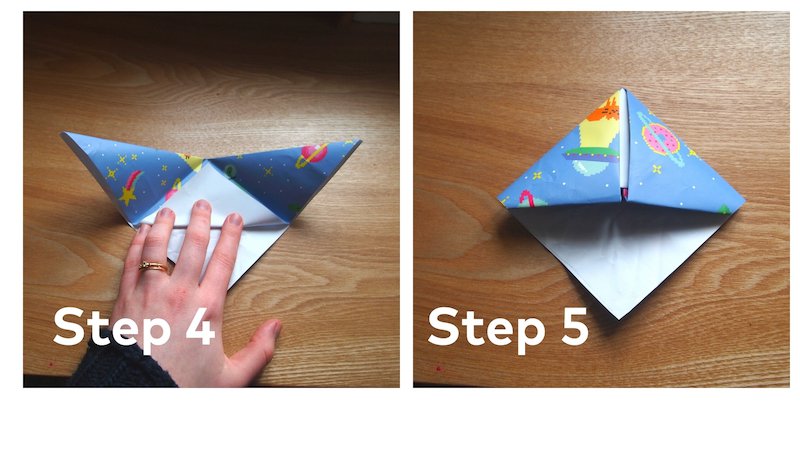
Step 4 – Unfold the right and left corners that you have just folded. Fold just the top layer of the middle point (D) upwards, towards the long edge (E).
Step 5 – This is the tricky bit! Take your left corner again (A) and fold it back down, tucking the point into the little pocket you have made (F). Repeat on the right side.
If you like you can decorate your new bookmark. Search ‘origami bookmark’ on Google to get some ideas. You can decorate it like a monster, an animal, or even your favourite book character!
Use your bookmark to keep your place in a book you are reading, or to mark pages in your exercise books.