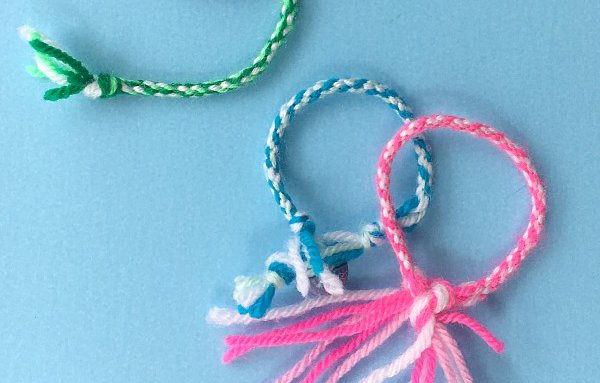
Help your child make a friendship bracelet to share with new or old friends.
Creating these bracelets is straightforward and helps fuel their creativity.
Watch the video
You will need
- Seven 50cm threads in your child’s favourite colours
- A small piece of cardboard just bigger than the top of a can
- Scissors
- A pencil
- A tin can for making a template
Method
- Place the tin can on your piece of cardboard and draw around it using a pencil
- Ask an adult to cut out the disc you have drawn on the cardboard
- Draw four lines across your disc to create eight equal segments
- Ask an adult to make a hole in the middle by poking through with the pencil
- Ask an adult to cut 1cm into each line you drew
- Take your seven strands of yarn and tie a knot at one end
- Thread your strands through the hole in the disc
- Take one strand at a time and slot it through one of the 1 cm strips. You should have seven strands tucked in, with one ‘space slot’
- Take the third strand to the left of the spare slot, lift it up, pull it across and put it down in the ‘space slot’
- Rotate your disk so the new ‘space slot’ is facing downwards and repeat the previous step, moving the third strand to the left into the new ‘space slot’
- Repeat.
- Your yarn friendship bracelet will begin to ‘grow’ on the other side of the disc, give it a gentle tug every so often.
- Ask an adult to help you tie it off once it is long enough and get them to fit it onto your wrist.